How to Connect Wireless Headphones to Laptop?

15 Cool Tools for Men That Are Worthy
2023-08-22
15 Best Comfy Gaming Chairs for Ultimate Relaxation
2023-08-24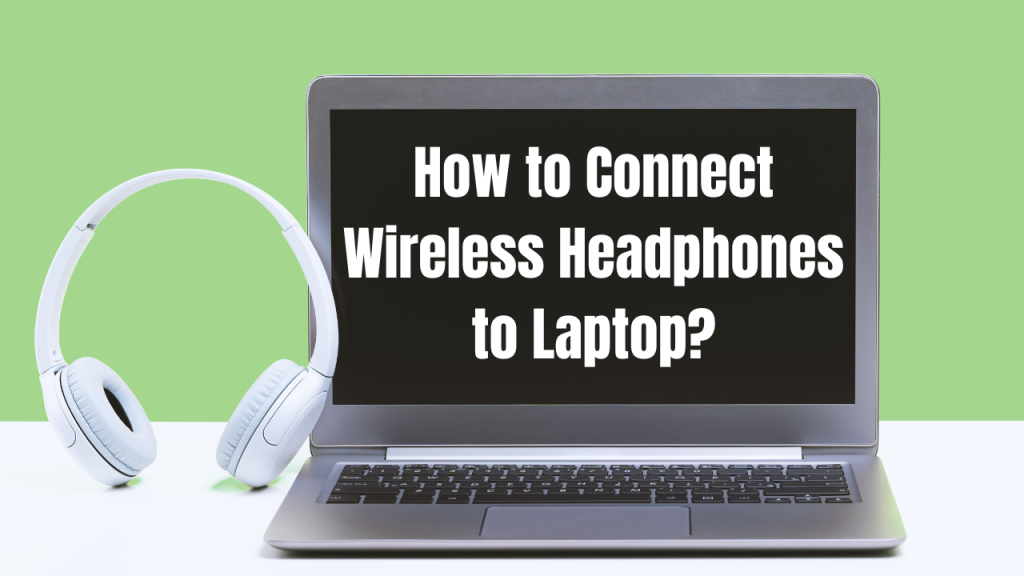
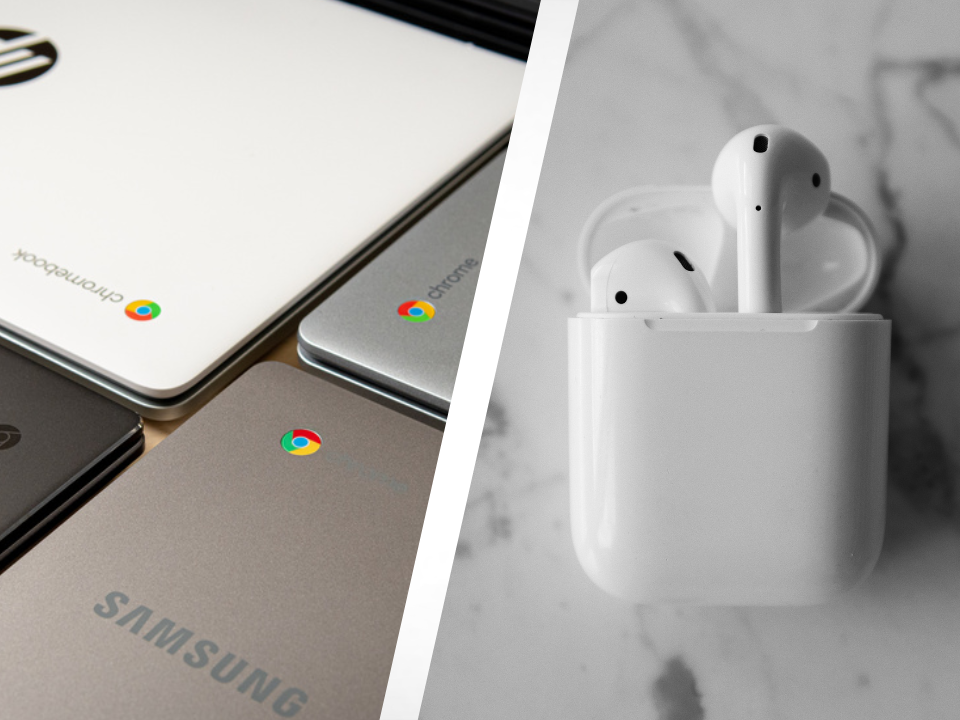
We all know how to connect a bluetooth headset on your cell phone. But do you know how to connect wireless headphones to laptop? Is the connection method similar to that on the cell phone?
It doesn’t matter. For this question, I will give this article from Windows and Mac systems to explain The specific steps to connect it.
It’s time to begin today’s travel!
How to connect wireless headphones to laptop on Windows?
Here are the clear steps to finish your connection in the Windows system:
Step 1. Charge Your Headphones
Before you begin, ensure that your wireless headphones are sufficiently charged or have fresh batteries if they are not rechargeable.
Step 2. Make sure your computer has a Bluetooth module
The most important step is ensuring your computer has a Bluetooth module. Some desktops may not have this hardware. Check your computer’s manual for Bluetooth module availability.
If your Windows computer does not have a Bluetooth module, you can purchase the external Bluetooth module adapter to help you enable Bluetooth functionality.
Step 3. Turn On Your Headphones and put them into pairing mode
Most wireless headphones have a power button or switch. This is usually done by holding the power button for a few seconds until you see a blinking LED light. This means that the headphones are ready to connect.
Step 4: Open “Settings” in your Windows
Click the ![]() in the bottom taskbar or use “Win+I” to open “Settings” on your laptop. If it’s not in the taskbar, press the
in the bottom taskbar or use “Win+I” to open “Settings” on your laptop. If it’s not in the taskbar, press the ![]() in the bottom left corner. You’ll see the “gear” icon appear above it.
in the bottom left corner. You’ll see the “gear” icon appear above it.
Step 5: Go to Devices

Different settings will appear when you click on the “gear” icon. Click on the second icon called “Devices.”
Step 6: Turn on Bluetooth

The option to turn on “Bluetooth” will now appear. You can do this by clicking the slider under the Bluetooth heading.
Step 7: Click on the “+” sign
Now that Bluetooth is turned on, you can add headphones or earbuds. Hover over the “+” sign at the top and click on it.
Step 8: Put your headset or earbuds in pairing mode
Your laptop will now search for Bluetooth devices. Set your headphones or earbuds to pairing mode to ensure your headphones or earbuds are found.
Step 9: Search for Devices

Before you begin, ensure that your wireless headphones are sufficiently charged or have fresh batteries if they are not rechargeable.
Step 10: Pair your headphones or earbuds
Your headphones will be on the list of available devices. Click the name, and the laptop will automatically connect.
You can usually do this by holding the “On” button longer. If this does not work, check the manual for your headphones or earbuds. Your laptop may prompt you to confirm pairing. Click on “Pair” or “Connect.”
If asked to enter a pairing code, consult your headset user manual for the default code (usually 0000 or 1234), or check if the code is shown on the headset packaging.
Step 11. Confirmation
When pairing is complete, the headset’s LED should stop flashing, and you may hear a confirmation sound from the headset.
Step 12: Test Connection
Play some audio on your laptop. The sound should automatically come through the wireless headset.
If the sound doesn’t come through the headphones, you may need to adjust your laptop’s audio output settings. You can right-click the sound icon on the taskbar to make adjustments.
How to connect wireless headphones to laptop on Macbooks?
Prepared your Macbooks? It’s time to figure out the methods to make it work!
Step 1. Charge Your Headphones
Before you begin, ensure that your wireless headphones are sufficiently charged or have fresh batteries if they are not rechargeable.
Step 2. Turn On Your Headphones
Turn your headphones on and put them into pairing mode. This is usually done by holding the power button for a few seconds until you see a blinking LED light indicating that the headphones are ready to connect.
Step 3. Open System Preferences
When you’re on the MacBook desktop, hover your mouse over the logo in the ![]() upper-left corner of the screen. When you click on it, a menu will appear. Select the second option here and click
upper-left corner of the screen. When you click on it, a menu will appear. Select the second option here and click ![]() .
.
Step 4: Go to Bluetooth
Now that System Preferences is open, you will see a list of various settings. Select ![]() from all these settings.
from all these settings.
Step 5: Open Bluetooth
You will see the Bluetooth button for turning on Bluetooth in the Bluetooth window. When you click it, your MacBook will search for available Bluetooth devices immediately.
Step 6. Search for Devices
Once Bluetooth is enabled on your laptop, it will search for nearby devices. In your Bluetooth settings, look for a button that says “Add Bluetooth or other devices” or something similar.
Step 7. Pair your headphones or earbuds
Your headphones should appear in the list of devices. Usually, you can do this by holding down the “On” button for a longer period. If this does not work, check the manual for your headset or earbuds.
Your laptop might prompt you to confirm the pairing. Click “Pair” or “Connect.”
If asked for a pairing code, consult your headphones’ user manual for the default code (usually 0000 or 1234) or check if the code is displayed on your headphones’ packaging.
Step 8. Confirmation
Once paired, your headphones’ LED lights should stop blinking, and you might hear a confirmation sound in the headphones.
Step 9. Test the Connection
Play some audio on your laptop. The sound should automatically come through your wireless headphones.
You might need to adjust your laptop’s audio output settings if the audio isn’t coming through the headphones. You can do this by right-clicking the sound icon using the System Preferences settings.
Tips if unconnected for windows
- Restart the pairing process. If your Bluetooth headset or earbuds don’t appear on the list, you can turn off Bluetooth on your computer to reset the connection.
- Make sure your wireless headphones are fully charged. If the battery is low, some headphones and earbuds will give a “connection failed” error.
- Make sure the headset is within 3 feet of the computer.
- Disconnect all paired devices. Too many paired devices may prevent you from adding others. So, you should unpair them.
- Update drivers on Windows 10/11. If you don’t see the Bluetooth icon or can’t click the switch to turn it on, especially after an update, your drivers may be out of date.
- Use the Windows Bluetooth Troubleshooter. If that doesn’t solve your problem, go to Start > Settings > Update & Security > Troubleshoot > Bluetooth (find and fix other problems) > Run the troubleshooter.
Summarize
How to connect wireless headphones to laptop? You guys must have found the clear steps. You can check the connection requirements if the headphones can’t get the connection. And If these methods don’t resolve your Bluetooth issue, please file a bug using their Feedback Hub. You can get the most professional guide.


